DIY Guides · 8 min read
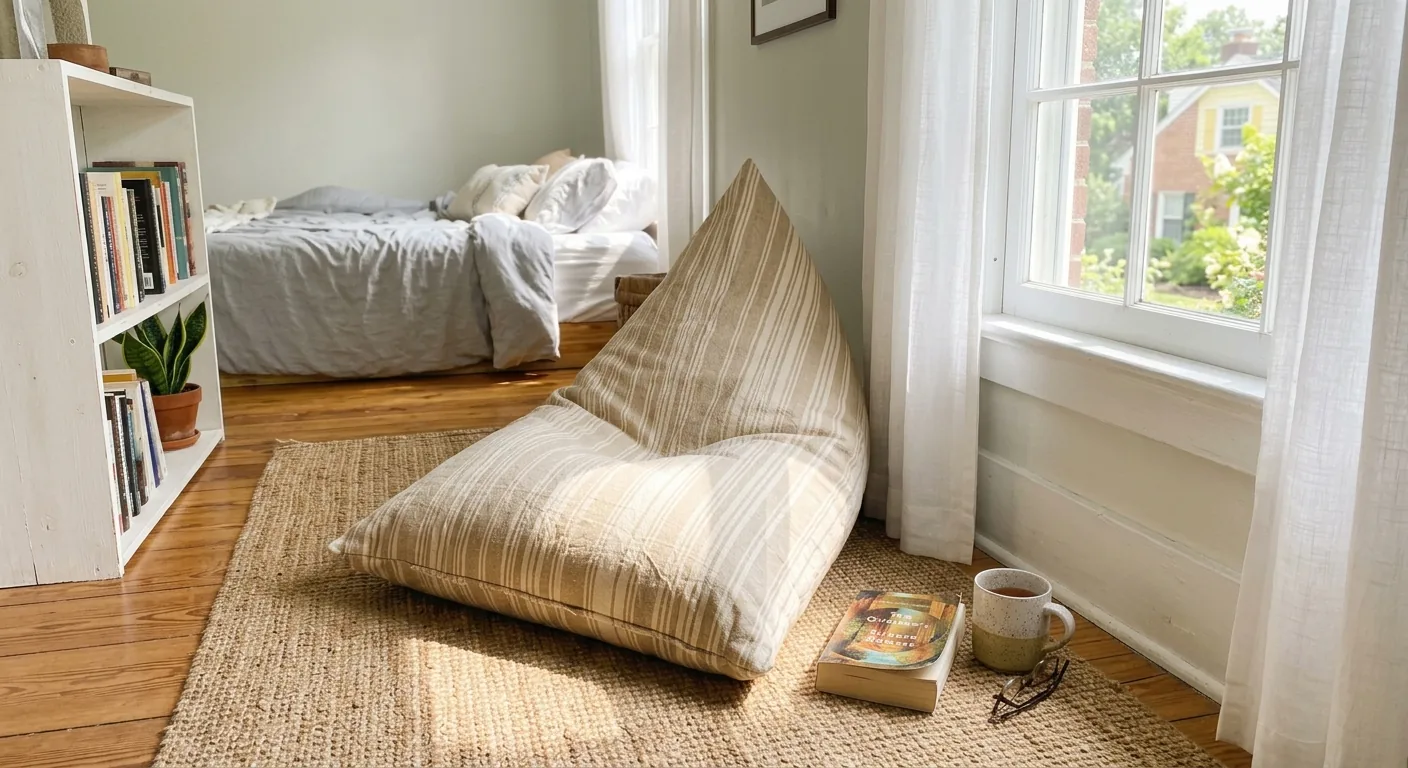
Table of Contents
Materials You Will Need
1. Measure Your Corner Correctly
2. Create a Triangular Cushion Template
3. Choose the Right Thickness
4. Choose Your Filling
5. Cut the Fabric
6. Sew the Triangular Cover
7. Add a Zipper
8. Fill the Cushion
9. Add Tufting
DIY vs. Ready-Made
Troubleshooting Common Problems
Empty room corners are surprisingly difficult to furnish. A chair can take up too much walking space, while a regular round floor pillow leaves that awkward triangle of empty floor behind it. Push a square cushion into the same corner and you usually end up with gaps along the walls.
A triangular corner floor cushion solves the problem in a much simpler way: instead of asking the furniture to work around the corner, you make the cushion follow the corner itself.
Two straight sides sit against the walls, while the front edge opens toward the room. Done well, it becomes a comfortable little place to read, journal, meditate, watch a movie or just sit somewhere that previously wasn’t doing much of anything.
This DIY tutorial walks through the whole process — measuring the floor space, making a full-size paper pattern, deciding on thickness, choosing filling, sewing the cover and getting loose filling all the way into those tricky rear corners.
| Difficulty | Intermediate DIY |
| Estimated Time | 3–5 hours |
| Best For | Reading nooks, bedrooms, meditation corners and casual floor seating |
Materials You Will Need
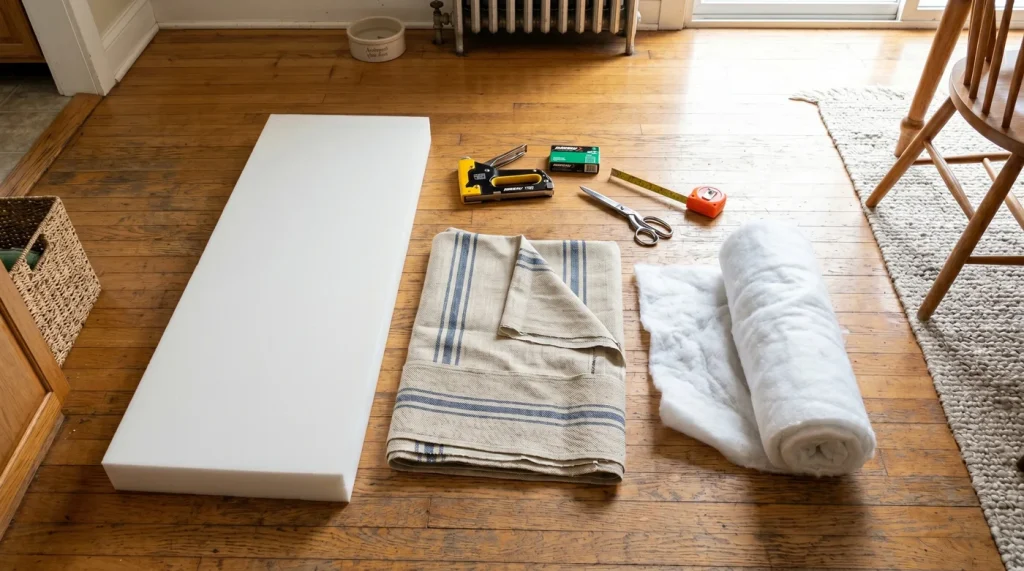
You don’t need professional upholstery equipment for this project. You do, however, want materials that can handle actual sitting. A thin craft cotton might look perfectly fine when the cushion is empty, then start stretching around the corners after a few weeks of use.| Material | Purpose |
|---|---|
| Measuring Tape | Measure the room corner |
| Kraft Paper | Create a full-size pattern |
| Upholstery Fabric | Make the outer cover |
| Foam or Shredded Foam | Provide support |
| Polyester Fiber | Add softness and loft |
| Heavy-Duty Thread | Reinforce high-stress seams |
| Sewing Machine | Construct the cover |
| Zipper | Optional removable opening |
Step 1: Measure Your Corner Correctly
This is the part I’d spend the most time on. A rectangular cushion can be half an inch off and still look fine. A triangular cushion is less forgiving because two edges are trying to line up with two walls at the same time. Start at the actual 90-degree corner and measure outward along both walls. Call these dimensions Wall A and Wall B. They may be identical if you want a symmetrical cushion, but they don’t have to be. Then check how much open floor you have in front of the corner. A cushion that technically fits between two walls can still stick too far into a walkway once someone is sitting on it.Don’t measure only the walls
Check these before finalizing the pattern:- Wall A — usable length along the first wall
- Wall B — usable length along the second wall
- Front width — the edge facing the room
- Available floor depth — how far the cushion can project into the room
- Baseboards — especially thick or decorative trim
- Outlets and floor vents — don’t accidentally cover something you’ll need later
- Door swing — open the nearby door all the way before choosing the final footprint
 One easy trick is to outline the proposed cushion with painter’s tape and leave it there for a little while. Walk past it. Open the door. Sit on the floor. If the imaginary cushion already feels like it’s in the way, the real one definitely will.
If you’re still deciding which finished footprint makes sense, the Corner Floor Cushion Size Guide goes deeper into choosing between smaller reading-nook sizes and larger adult lounge sizes.
Step 2: Create a Triangular Cushion Template
Don’t go straight from a measurement in your notes to cutting upholstery fabric. Make the cushion once in paper first. Tape large sheets of kraft paper together and draw the footprint at full size. Put the paper pattern into the corner and see what happens. This is where you catch crooked walls, thick trim and those little things that are surprisingly invisible when you’re holding a measuring tape. The easiest version is a 90-degree triangle with a straight front edge. Equal Wall A and Wall B measurements create a symmetrical right triangle; unequal measurements simply make the cushion asymmetrical. You can also create a fan-shaped front or a shallow curved front edge. I actually like a slight curve for reading nooks because it makes the cushion feel less like a geometry project once it’s in a bedroom.For a straight front edge:
Front edge = √(Wall A² + Wall B²)
For a curved edge, skip the formula. Draw the curve on your paper pattern and measure directly along it with a flexible tape.

Step 3: Choose the Right Thickness for a Fall Reading Nook
Thickness matters much more on a floor cushion than on a decorative pillow. There isn’t a chair frame or spring system underneath you. The cushion is doing all of the work.3 inches
Three inches can work for occasional seating over carpet or a thick rug. On hardwood, tile or concrete, many adults will compress it enough to notice the floor underneath.4 inches
Four inches is a nice DIY middle ground. There’s enough depth to feel like proper seating without making the side boxing especially difficult to sew.6 inches
Six inches starts to feel more like lounge furniture. That’s useful for long reading sessions, movie nights or those cooler fall evenings when sitting close to a hardwood floor isn’t quite as charming as it looked on Pinterest. For reference, Rulaer’s ready-made Cozy Corner Floor Cushion is 6 inches thick across all eight footprints, ranging from 24 × 24 inches through 40 × 40 inches. You don’t need to copy those sizes for a DIY build, but they give you a useful real-world idea of what a thicker lounge-style cushion looks like.Step 4: Choose Your Filling
There isn’t one perfect filling for every floor cushion. The choice changes the shape, firmness and even how easy the project is to sew.
Solid foam block
A solid upholstery foam insert gives you the cleanest outline and strongest edge definition. If you want the cushion to feel more like upholstered furniture than a giant pillow, this is probably the best option. The drawback is cutting it. A thick triangular insert has to match the fabric pattern pretty closely, particularly if you’ve added a curved front edge.Shredded foam
Shredded foam is much more forgiving. You can push it into narrow rear corners and adjust firmness after the cushion is finished. The look is softer and more casual, and you’ll need to fluff it from time to time.Polyester fiber
Fiberfill is lightweight and soft, but I’d hesitate to use it alone in a floor seat for adults. It can compress fairly quickly under body weight.Foam + fiber blend
A foam-and-fiber blend sits somewhere between the two: enough structure to keep the cushion supportive, with enough softness to fill unusual corners without feeling blocky. If you want to go deeper into filling and general floor-pillow construction, we cover that separately in our guide to making a floor cushion.Step 5: Cut the Fabric
The cover has three main parts: a top panel, a bottom panel and the side boxing that creates the cushion’s thickness. Lay the finished kraft-paper pattern on the fabric and add a ½-inch seam allowance around the full perimeter before cutting the top and bottom.
Boxing width = Finished cushion thickness + 1 inch
For a 6-inch cushion, cut a 7-inch-wide strip.
Boxing length = Total cushion perimeter + approximately 1 inch for joining.
If your front edge is curved, measure the actual curve on the paper pattern. Don’t measure the straight distance from one front corner to the other — that number will be too short.
Also pay attention to fabric direction. Corduroy, velvet and brushed upholstery fabrics can appear noticeably lighter or darker depending on the direction of the nap. Cutting one panel backward is the sort of mistake you usually notice five minutes after finishing the zipper.
Step 6: Sew the Triangular Cover
Pin the boxing to the top panel with the right sides facing one another. I prefer starting along one of the long straight wall edges rather than directly at the sharp rear corner. Sew with your ½-inch seam allowance. When you reach a corner, stop with the needle down, raise the presser foot, pivot the fabric and continue. The rear 90-degree point is where heavy fabric likes to bunch. Once the seam is sewn, trim away a little of the excess seam allowance and carefully clip toward the stitching. Don’t cut through the seam itself.
How to stop the corners from puckering
Slow down near each corner and keep the two fabric layers moving at the same speed. On a curved front edge, use more clips than you think you need and ease the fabric around the curve gradually. And don’t obsess over creating a needle-sharp rear point. With thick fabric and loose filling, a very slightly rounded point often sits against a real wall more neatly anyway.Step 7: Add a Zipper
A zipper isn’t mandatory, but it’s one addition I’d recommend. It lets you adjust the filling later and makes repairs much less frustrating. A standard upholstery zipper is easiest for a first project. Put it along one of the wall-facing sides or toward the back of the boxing so it disappears once the cushion is pushed into place. An invisible zipper looks cleaner, although thick upholstery fabric can make it more difficult to install. Since two sides of this cushion spend most of their life against a wall anyway, there’s not much reason to put your prettiest zipper work on the front edge.Step 8: Fill the Cushion Without Creating Lumps
If you’re using a solid foam insert, work the rear corner in first and then gradually pull the cover around the remaining foam. Loose filling needs a little more patience. Start with the two rear corners before filling the center. Push small handfuls of shredded foam or fiber all the way toward the points with your hand. Add material in batches. Close the zipper when the cushion still feels slightly less full than you think you want, sit on it for a few minutes and then decide whether it needs more. Overfilling is a common DIY mistake. Too much filling creates a rounded center and can actually make the two wall edges bow away from the walls.Step 9: Add Tufting to Control the Filling
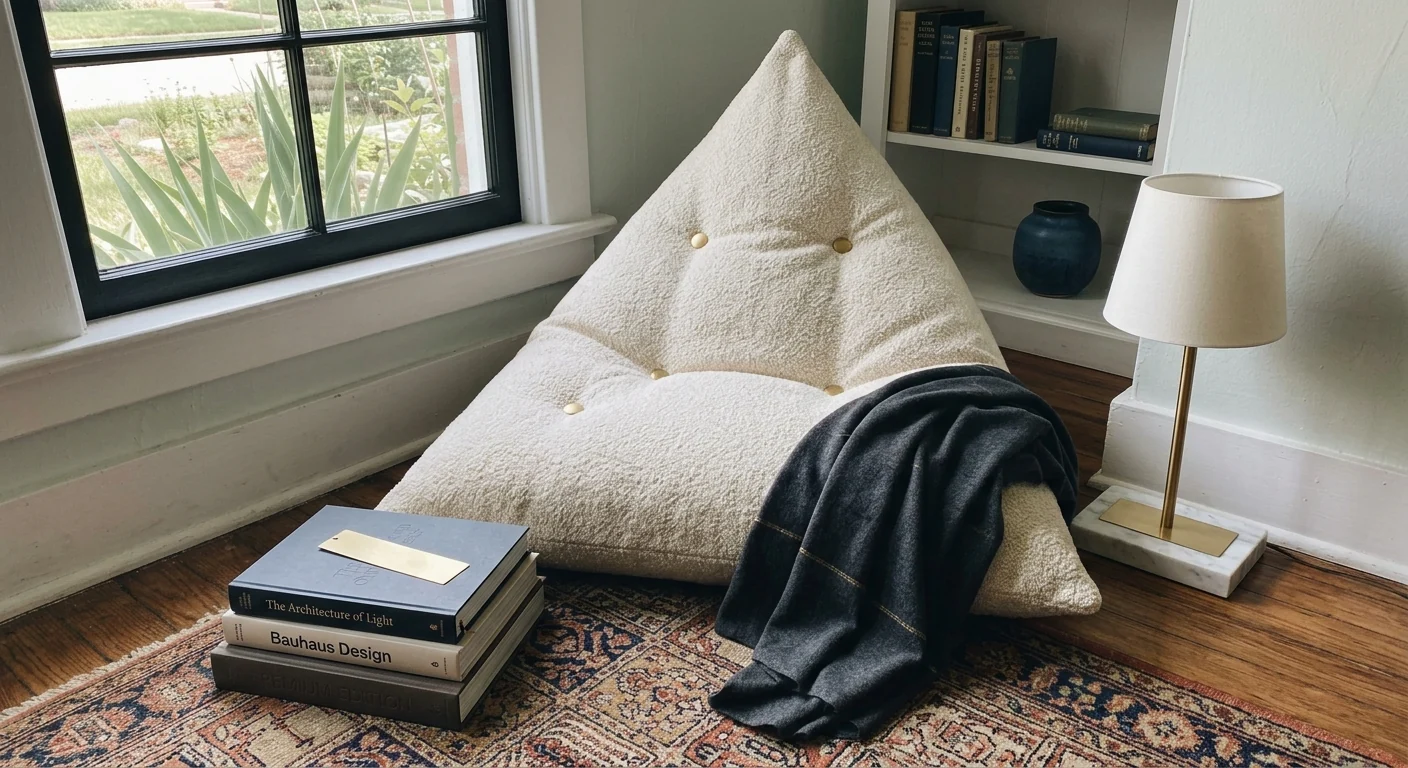
Tufting looks decorative, but on a large loose-fill cushion it also has a practical job. It connects the top and bottom panels and limits how far the filling can migrate toward the middle. A simple four-point arrangement works well for this shape. Rulaer’s ready-made corner cushion also uses four fixed tufting points to help keep the internal filling distributed through the broad seating area. Mark the positions first. Using a long upholstery needle and strong thread, pass through the entire cushion, pull until you create a gentle indentation, then secure the thread underneath. Don’t pull so aggressively that the cushion folds around each tuft. You’re trying to stabilize the fill, not create four deep craters.
One practical note before you buy materials: if you’re planning several cushions rather than one, compare the DIY material cost with a finished option first. Rulaer currently offers $60 off orders over $300 and $125 off orders over $500, so a larger reading-nook project can sometimes land closer to the DIY budget than you’d expect.
DIY vs. Ready-Made Corner Floor Cushion
DIY makes the most sense when your corner is genuinely unusual, you enjoy sewing or there’s a specific fabric you’re determined to use. Buying one makes more sense when the project isn’t really the point — you just want an empty corner to become a reading nook before another weekend disappears.| DIY | Rulaer Ready-Made | |
|---|---|---|
| Time | 3–5 hours | Ready after unpacking and recovery |
| Sewing | Required | No |
| Size | Fully flexible | 24″–40″ |
| Thickness | Custom | 6″ |
| Tufting | Optional | 4-point tufting included |
| Finish | Depends on skill | Finished product |
Troubleshooting Common Problems
My cushion doesn’t sit flush against the wall
Look at the baseboards first. It’s possible to measure the walls correctly while forgetting that the trim occupies another half inch at floor level. If the middle of the cushion is unusually rounded, overfilling may also be pushing the edges outward.The front edge looks uneven
Compare the sewn front edge with the original paper template. Curves can stretch during sewing, especially when one fabric layer was pulled through the machine faster than the other.The filling keeps moving into the center
Redistribute it toward the outside before adding more. With loose filling, tufting usually works better than simply packing additional foam into the cushion.The rear corners look empty
Open the zipper and add small amounts of filling directly to each point. More filling in the center won’t fix empty corners — it’ll just give you an even bigger center.My cushion feels too thin
If you’re using loose fill, add a little more and retest. If you chose a 3-inch solid foam insert and can clearly feel the hardwood beneath you, that’s really a thickness problem rather than a sewing problem.Caring for Your DIY Corner Floor Cushion
A floor cushion naturally deals with more dust, hair and everyday debris than a sofa cushion. Fortunately, it doesn’t need complicated care.- Vacuum regularly, especially around tufted areas where dust collects.
- Spot clean spills quickly using the cleaning method recommended for your upholstery fabric.
- Fluff loose filling and push it back toward the corners before the center becomes permanently packed.
- Rotate or flip the cushion when your design allows it so one area doesn’t take all the pressure.
- Keep indoor materials dry. A home upholstery fabric is not automatically suitable for outdoor use just because the cushion sits near a sunny window.
A Few Options If You’d Rather Skip the Sewing
If you got this far and the project sounds fun, make it. That’s half the appeal of DIY. If you mainly want the reading nook and not four hours at a sewing machine, these are the three Rulaer floor-seating options I’d compare first.
Cozy Corner Floor CushionPurpose-built triangular seating with 6-inch thickness and eight footprints from 24″ to 40″.
See the corner cushion →
Square Tufted Floor PillowA more movable option when you’d rather shift floor seating between the living room, bedroom and window area.
Browse square cushions →
Square Meditation Floor PillowA compact 6-inch-thick option for meditation, reading and casual seating on harder floors.
See the meditation pillow →
The Corner Is Small. The Measurement Still Matters.
A corner floor cushion isn’t difficult because it uses a huge amount of material. The challenge is that several little decisions have to work together: the wall measurements, the shape of the front edge, cushion thickness, seam allowance and how the filling behaves once someone actually sits down. So make the paper template. Put it in the room before you cut fabric. Open the door. Check the outlet. Sit inside the taped outline and see where your knees land. Those ten minutes usually save more time than any sewing trick later. If the pattern fits and you’re excited to build it, go ahead. There’s something genuinely satisfying about turning an otherwise useless corner into a seat that exists because you made it for that exact space. If you’d rather spend your next free afternoon reading in the nook instead of sewing it, that’s reasonable too.
Ready to turn that empty corner into somewhere you’d actually use?Compare all eight sizes of the Rulaer Cozy Corner Floor Cushion, or start with the size guide if you’re still deciding what fits.
Shop Corner Floor Cushion
Read the Size Guide